Details
-
Improvement
-
Status: Open
-
 Major
Major
-
Resolution: Unresolved
-
None
-
None
Description
This documentation will describe how to Install ZooKeeper on IBM Cloud.
Requirements/Prerequisites
You will need an IBM Cloud Pay-As-You-Go or Subscription Account type which can be found here.
Introduction
This docs will describe how to install ZooKeeper on IBM Cloud. These four steps will be needed as follows:
- Step 1: Provision Kubernetes Cluster
- Step 2: Deploy IBM Cloud Block Storage plug-in
- Step 3: Deploy ZooKeeper
- Step 4: Verify Installation
So let's get started.
Step 1: Provision Kubernetes Cluster
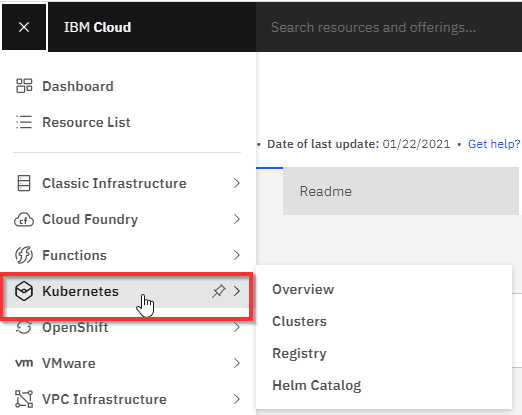
- Search for Kubernetes and select Kubernetes Service from the list.
> You will be redirected to the [Kubernetes cluster creation|https://cloud.ibm.com/kubernetes/catalog/create] page.
Option A: Create free Kubernetes Engine:
- Price Plan: Free
> Enter the cluster name of your choice then click *Create* to provision the free Kubernetes Cluster.
> Please wait for few moments to provision the cluster.
-
-
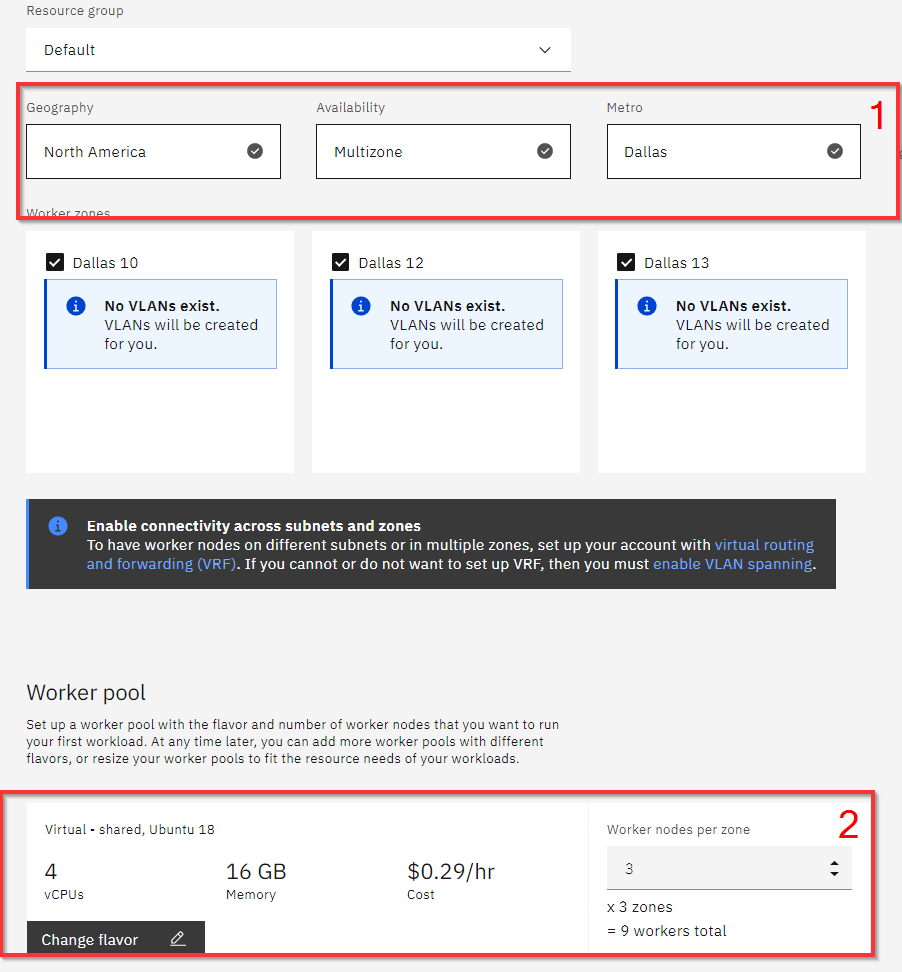
- Option B: Create Standard Kubernetes Engine with the following attributes:
-
- Price Plan: Standard
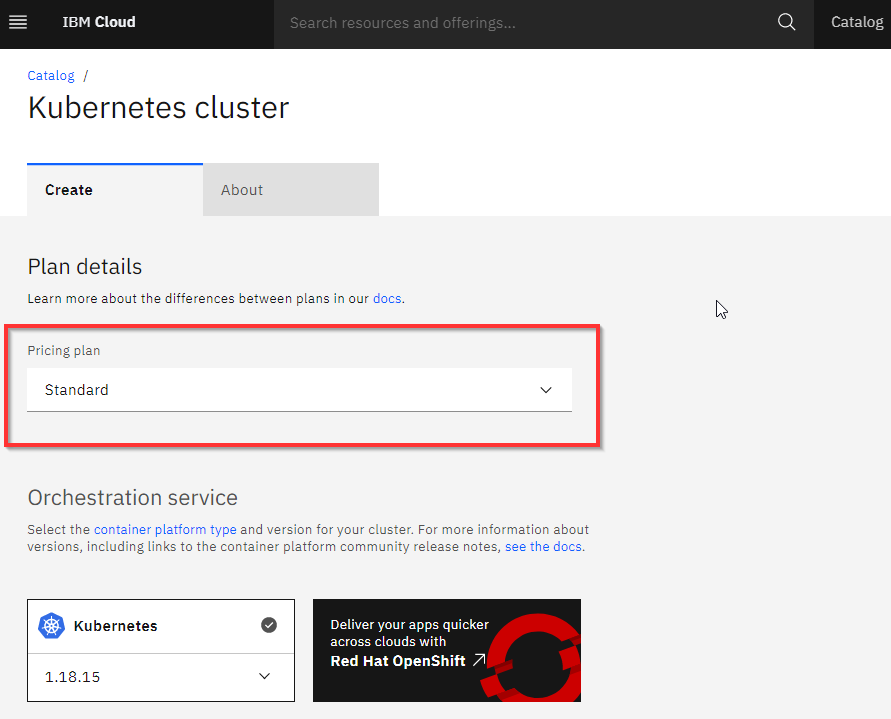
- Infrastructure: Classic
- Availability: Multi Zone
- Metro: Dallas
- 4 VCPU
- 16 GB RAM
- Worker nodes per zone: 3
> Enter the cluster name of your choice then click *Create* to provision.
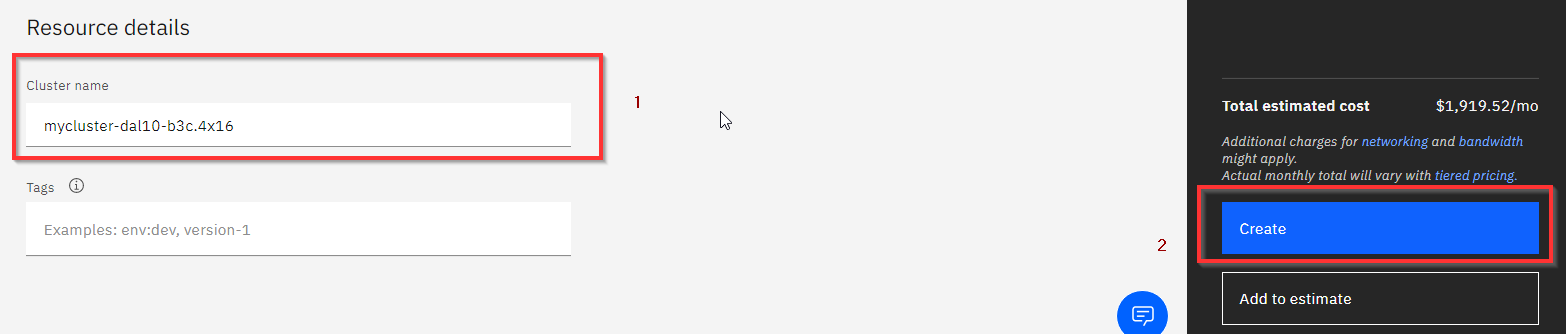
> Please wait for a few moments to provision the cluster.
-
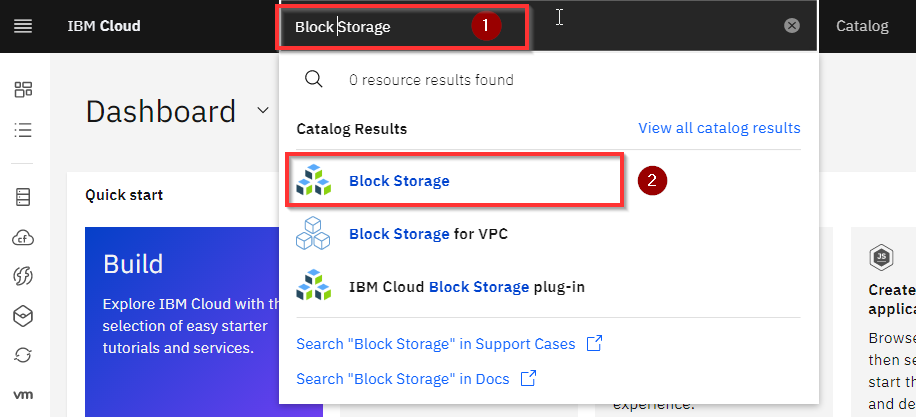
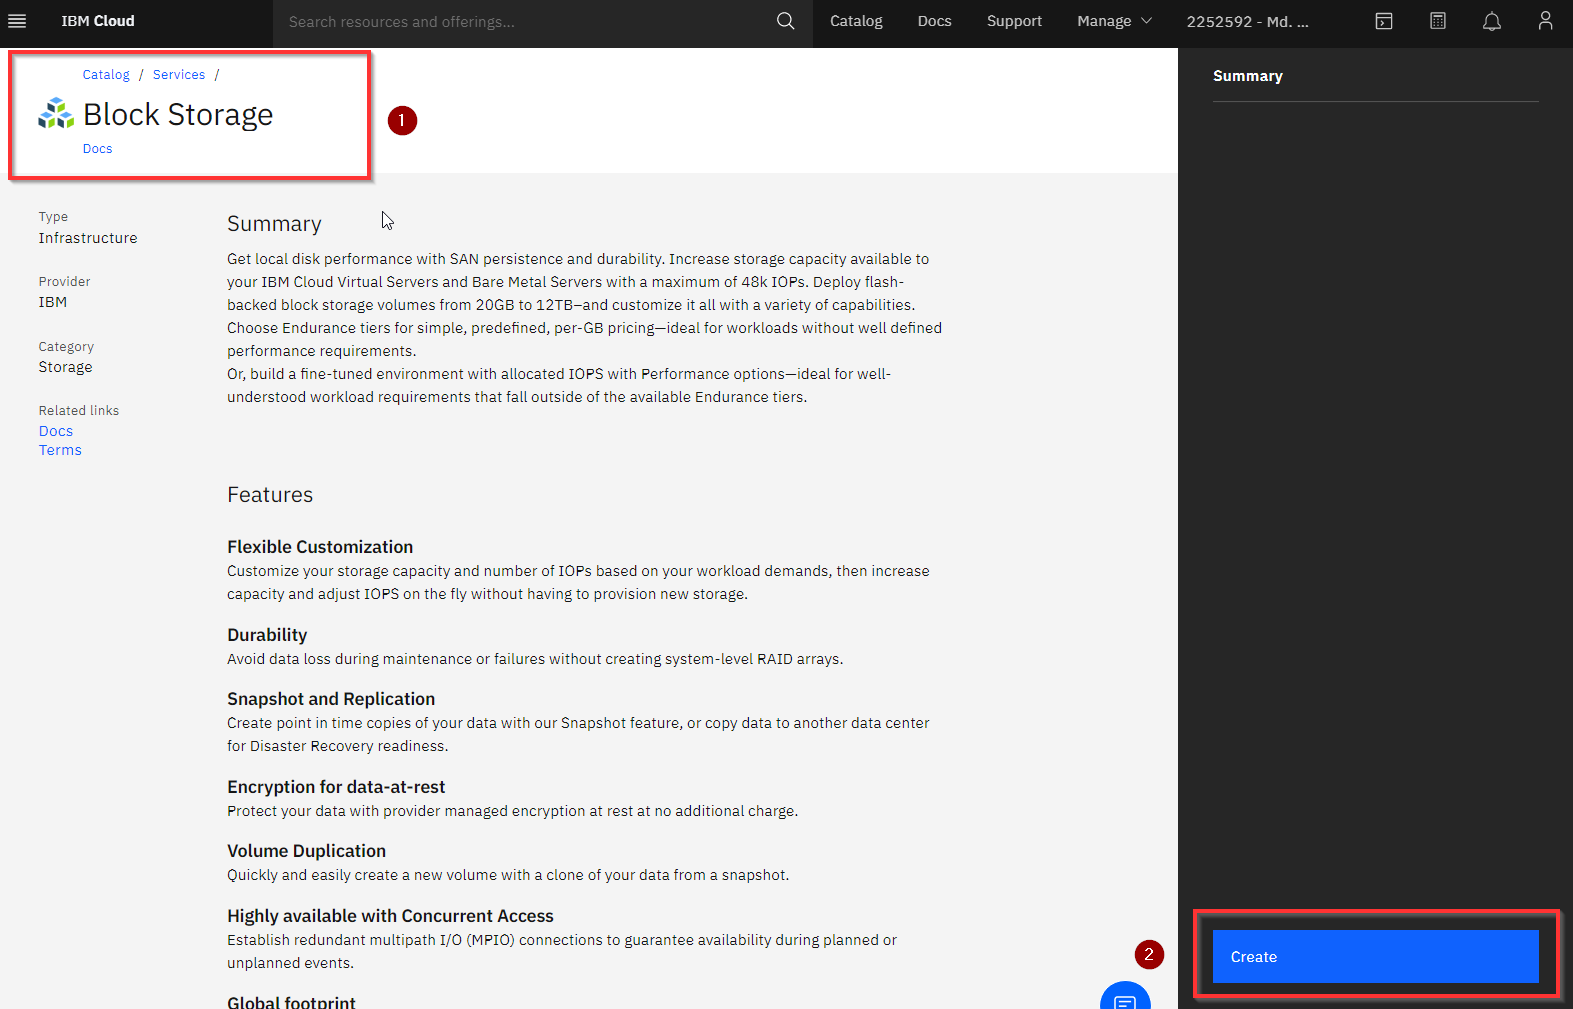
- Step 2: Deploy IBM Cloud Block Storage plug-in
- Just like in step 1, search for "Block Storage" and Click on it.
- On the Block Storage page click on *Create*
- Now input the storage details
> N.B. Select location as the cluster location.
- Location > Europe > London > LON02
- Billing Method > Monthly > 20 GB
- OS type > Linux
- IOPS > 2 IOPS/GB
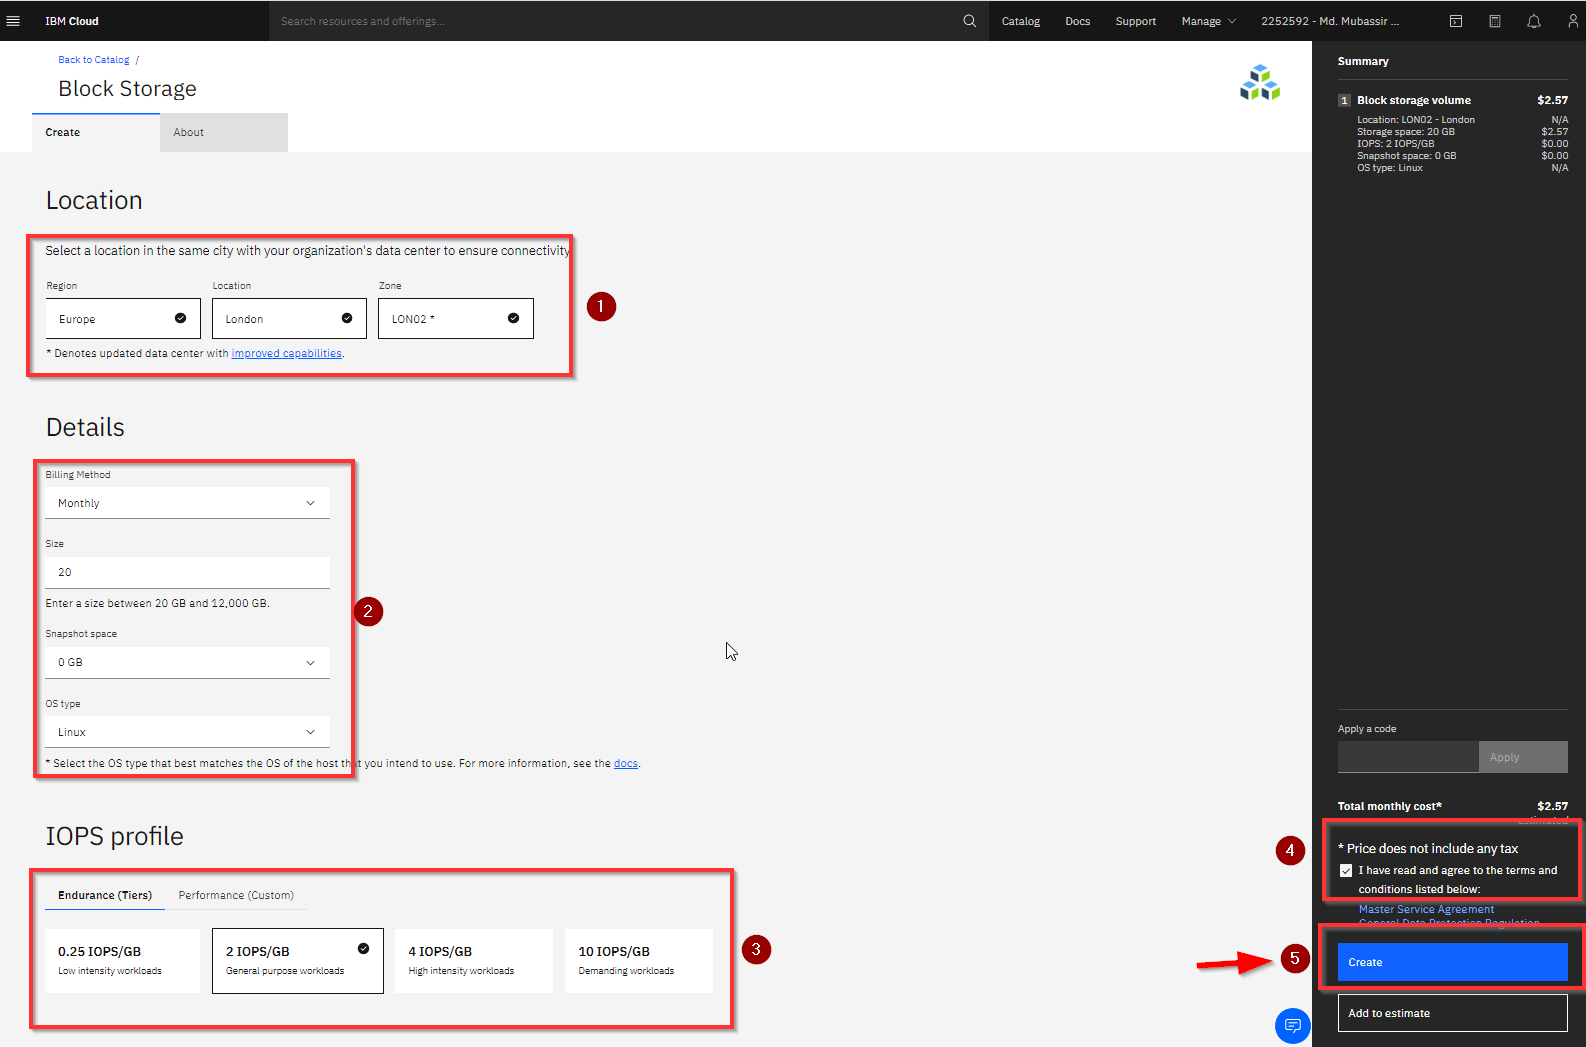
- Click on “I have agreed to the terms and conditions listed below”.
> Now a storage plugin will be available in the dashboard.
-
- Step 3: Deploy ZooKeeper
- Again Search for *ZooKeeper* and Click on it.
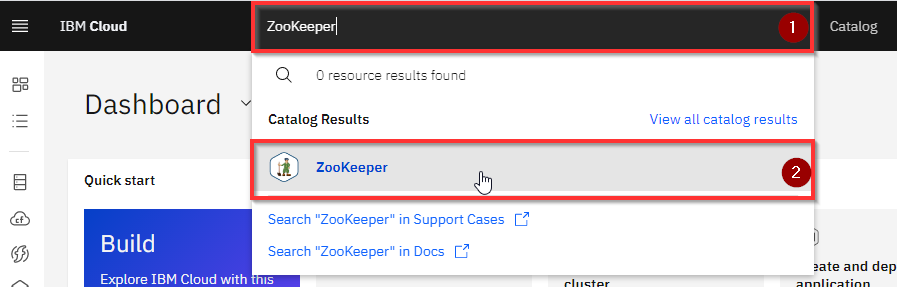
> You will be taken to the *ZooKeeper* deployment page.
In the ZooKeeper creation page add the details below:
- Target: IBM Kubernetes Service
- Method: Helm chart
- Kubernetes cluster: mycluster-free
- Target namespace: zookeeper
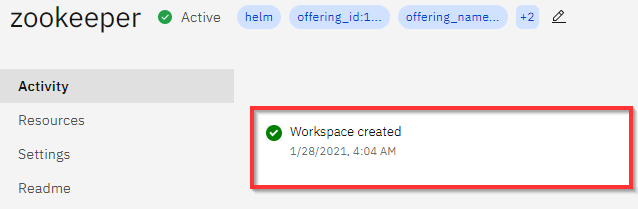
- Workspace: zookeeper
- Resource group: Default
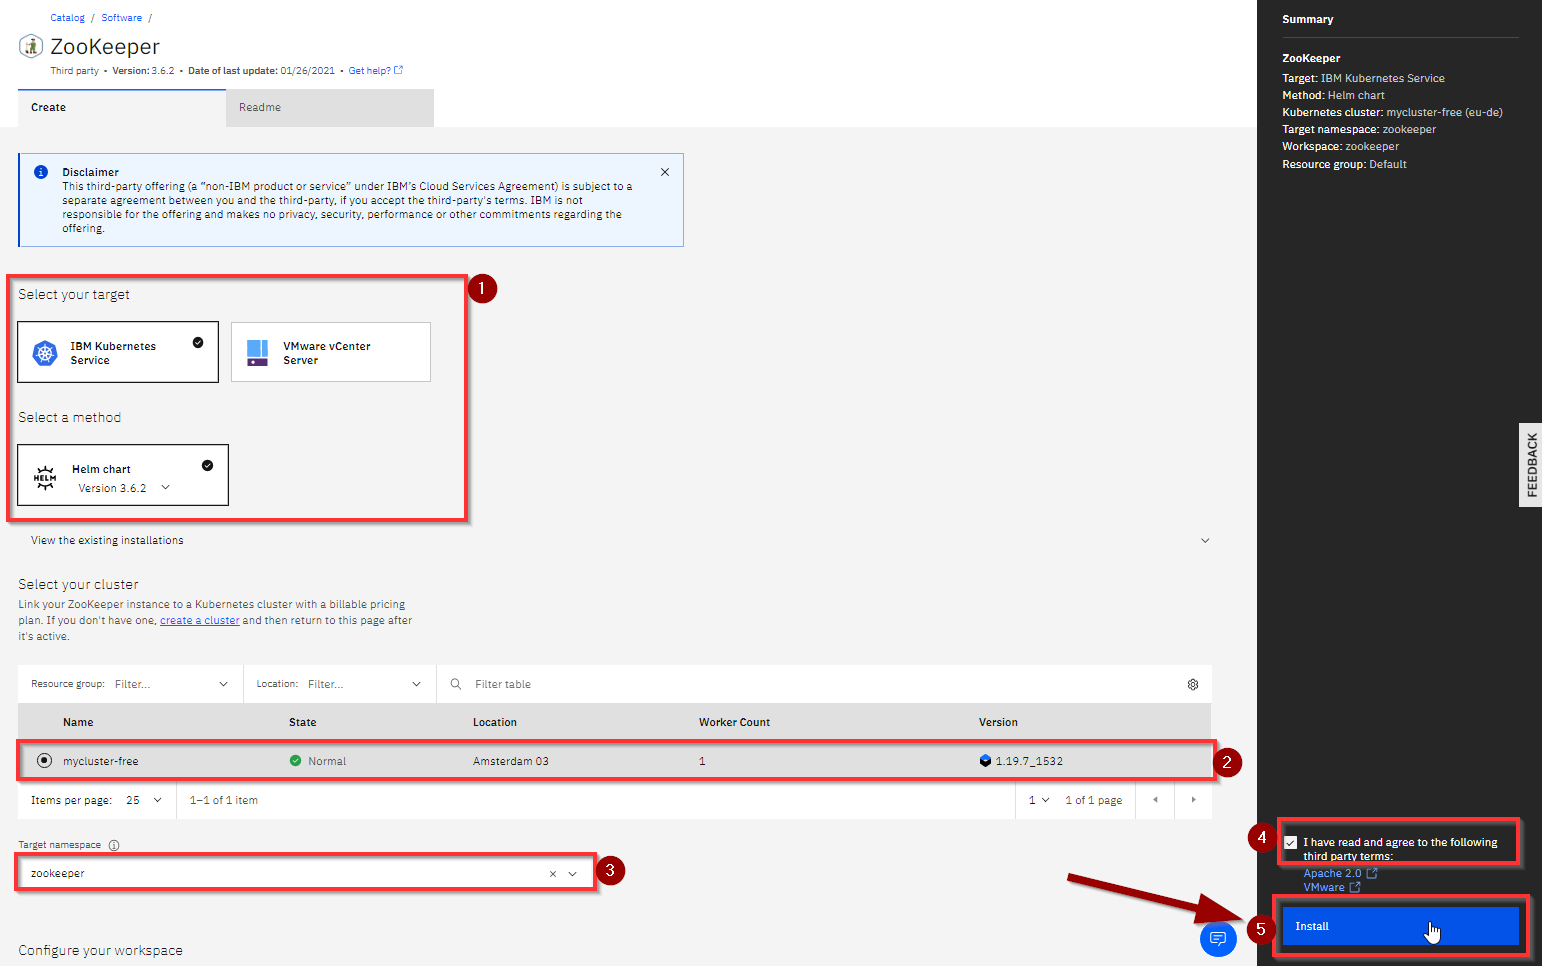
- Check on “I have agreed to the terms and conditions listed below”.
> Click *Install* to deploy ZooKeeper.
> Please wait for all the process to complete.
-
- Step 4: Verify Installation
- Go to Left Navigation Menu.
- Click on Kubernetes
- Click on your Cluster "mycluster-free".
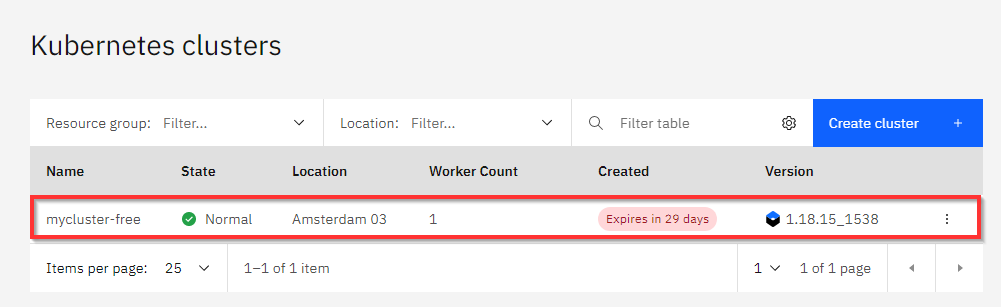
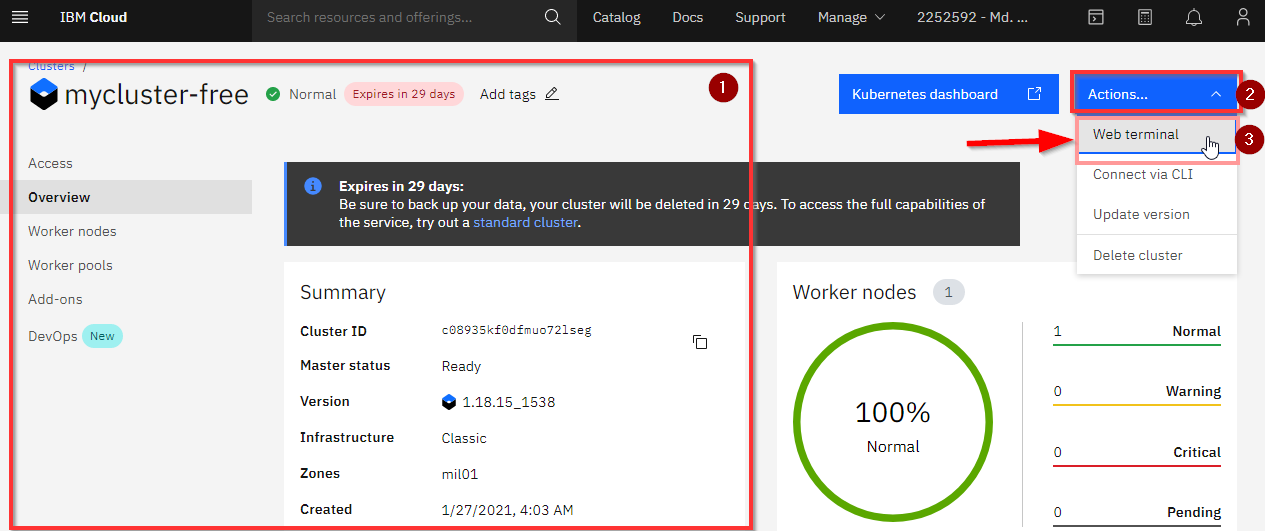
> You will be taken to your clusters overview page where you will see the details of your cluster as well.
- To verify the installation find the Actions..
- Click on it and select `Web terminal` from the dropdown menu.
> Click install, then wait for a couple of minutes to finish the process.

- After completing the installation click on Actions > Web terminal again.
> A command line terminal will appear. Type the command below:
-
-
-
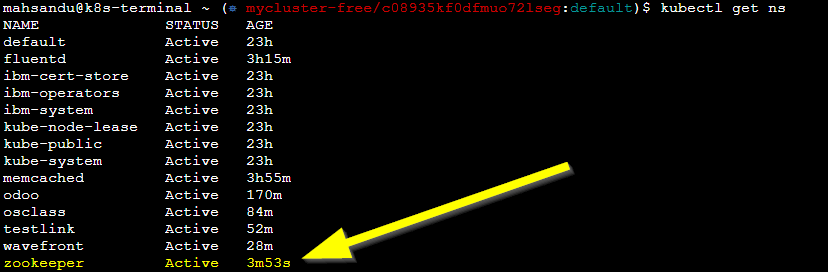
- Get the list of pods:
-
-
`kubectl get ns`
-
-
-
- See if it is running:
-
-
` kubectl get pod -n zookeeper -o wide `

The Installation is now done! Enjoy !